|
|
|
| Broken Legs or Loose Ruberbands |
|
|
|
|
Menu: Click a sword |
|
|
|
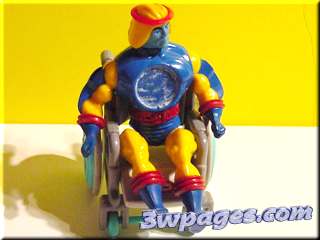
First you have some poor broken figure:
|
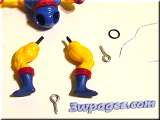 1.) Here are the parts you'll need: (2) Screw eyes (1 inch long)(1-or-2) O-ring 7/16" ID 9/16" OD 3" length on dental floss |
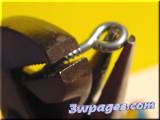 2.) Bend the screw Eyes open |
 3.) it should look like this after bending |
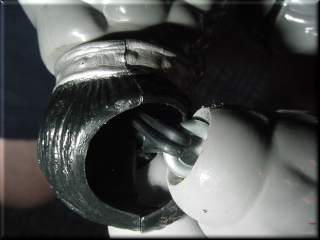
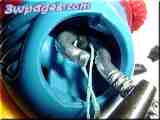
 4.) Pull out the extra rubber |
 5.) It should look clean after its all out (it may take you some time to get this all out) |
 6.) Screw in the first Screw Eye (Do right leg only!) |
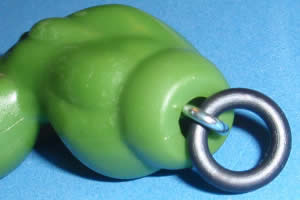
 7.) Put the o-ring on and tighten the Screw eye until it touches the leg. |
 8.) Tie some dental floss or string to the o-ring (Leave a loose loop, so you don't break the o-ring) |
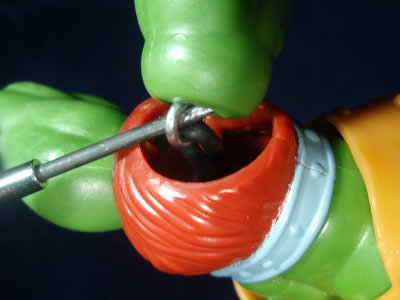
 9.) Thread the dental floss though the opening and though the gap where the rubber went in the first place. |
 10.) Carefully pull the sting and o-ring through the other side. |
 11.) Hook the loop with the other screw eye |
 12.) Cut the dental floss |
 13.) Hold the Screw eye with some needle nose pliers and screw on the left leg |
 14.) Make some final adjustments |
And (Drum roll please)- it's fixed! |
|
|
||
![]()
Update:
I have fixed over 100 figures now and I have found some better processes; here's some pictures of one of the figures I have fixed:
First here are the newer parts I'm using:
 Screw eyes #216-1/2 inch
|
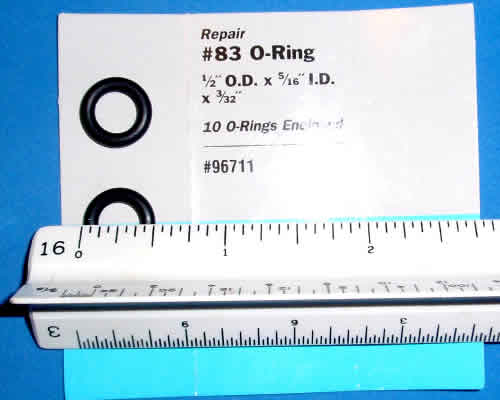 O-Rings: 1/2 Inch Outer Diameter X 5/16 Inner Diameter X 3/32 thick
|
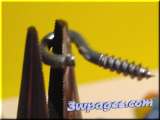
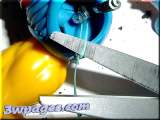
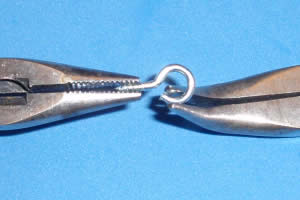 1.) Open the Screw eyes Use non-marring Pliers
|
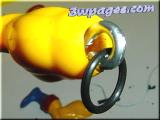
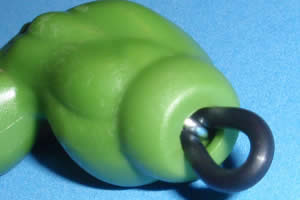
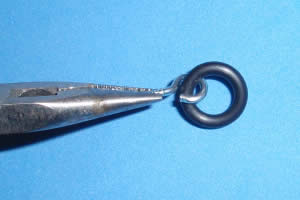 2.) Add the 1st o-Ring |
 3.) Close the Screw Eye with the O-Ring |
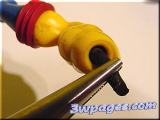
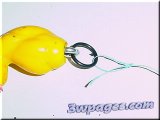
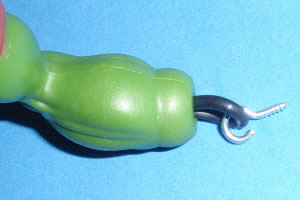
 4.) Loose attach in the Right Leg |
 5.) Seat the parts deep into the socket of the leg by screwing in the screw eye
|
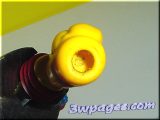
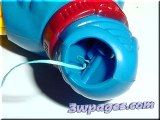
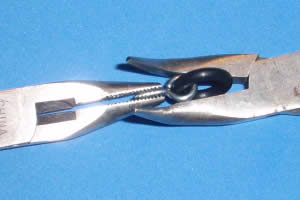
 6.) Add the 2nd hook then close it the same way as above |
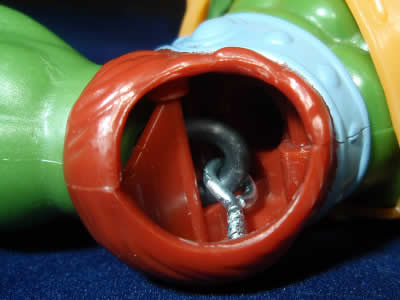 7.) Out the Right leg on the figure, as far as you can so you can see the 2nd screw eye.
|
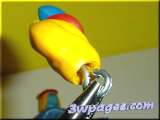
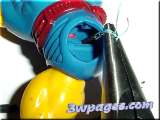
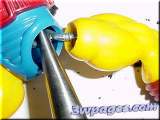
 8.) Use a very small screw driver and hook the 2nd screw eye onto it, then twist the Left-Leg onto the 2nd screw eye (this can be very tricky to do, be patient) |

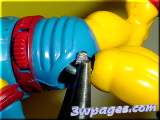
9.) Keep going until the screw is seated fully, (Make sure the leg is aligned
correctly)
![]()
Here's the text of the original fix: (It's close, but a little different)
| (It's not mine, it's someone
else's, here's the guy's email wvyner@yahoo.com.au ) quote: Here we go. If the legs aren't detached from the body, Detach them and with a craft/hobby knife remove as much of the old rubber as possible. Take a trip to your local hardware store and buy some small eyelets. you will need 2 per figure. These look like cup hooks but instead of being opened, they are closed. to judge the correct size, the curved edge of the closed eyelet needs to match the curve in the top of the leg. (where the rubber used to be. Also buy some very very small "O" rings. these need to smaller enough to fit over a pencil but not be loose or tight. just a nice fit. You will need 2 o-rings per figure but have some spare available. With a very fine drill, drill a small hole into the top of the leg where the rubber used to be. BE CAREFUL NOT TO DRILL TO FAR OR YOU'LL COME OUT THRU THE KNEE. repeat this on the other leg. Screw the closed eyelet halfway into 1 of the legs only. With a pair needle nose pliers, open the eyelet enough to hook 2 "o" rings into it and gently sqqqueeze the eyelet closed again. Fully screw it into the leg. Open the other eyelet but don't screw it in to the leg yet. Gently loop some string thru the 2 o-rings and thread the string thru the action figures "shorts" going where the original rubber went. Now be careful and patient as you pull the o-ring thru the body. It is a tight fit and you may have to use the pliers to maneuver it thru the gap. don't pull the string to hard or it will cut thru the o-rings. When its thru the gap, make sure the o-rings aren't twisted but don't remove the sting . hook the other opened eyelet thru the o-rings and close the eyelet with the pliers. carefully remove the sting. Screw the other leg onto the eyelet. you may have to hold the eyelet with the needle nose pliers as it is a little tricky. If the legs are crooked, gently stretch the o-ring, hold the eyelet with the pliers and carefully screw the leg so it's straight. They won't last as long as the original rubber bands but they will last quite a while. if they break you can replace them. if your not sure about the size of o-rings and eyelets you need, buy some different sizes and see what works for you. Try it out on some worn out figures first until you master the technique. Put a post up and let me know how you go. email me and let me know if I can help in any way. wvyner@yahoo.com.au |
|
||||||||||
Page last updated: Sunday, October 24, 2010